Outlook Setup using the Control Panel Mail Applet (Manual Configuration)
Using the Mail applet in the Windows Control Panel lets you precisely configure your Outlook profile and account settings.
General Settings You'll Need
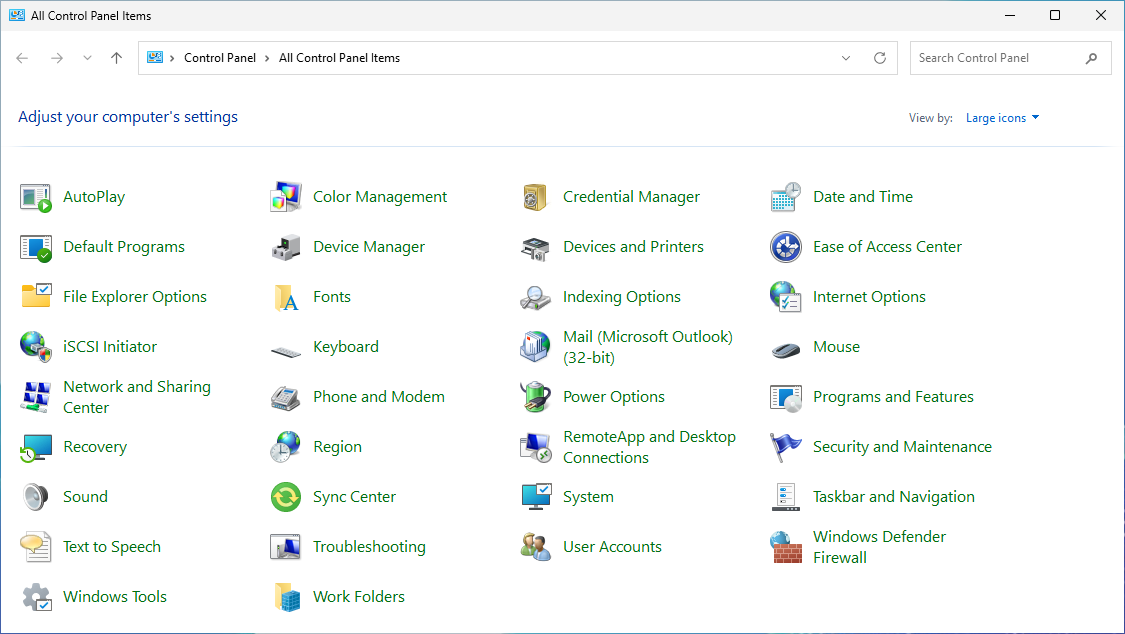
Step 1: Access the Mail Applet
-
Press the Windows Key and search for Control Panel.
-
In the Control Panel, ensure the view is set to Small icons or Large icons, then click on Mail (it may be labelled with the Outlook version, e.g., "Mail (Microsoft Outlook)").
-
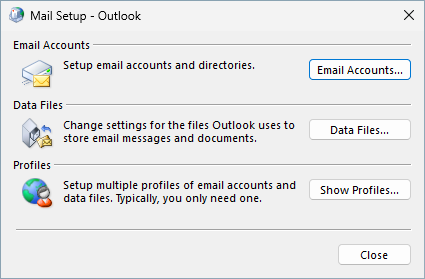
In the Mail Setup - Outlook dialogue box that appears, click the Email Accounts... (Optionally, you can create a new separate Outlook Profile under Show Profiles....
-
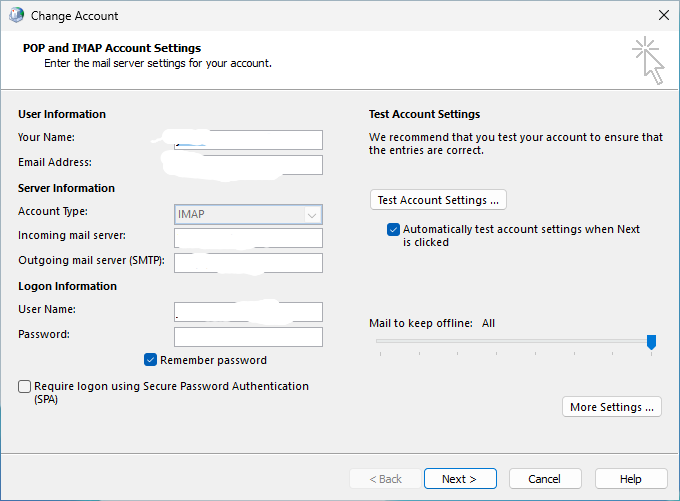
Highlight the account you are changing, then click the Change... button to edit your email account details.
-
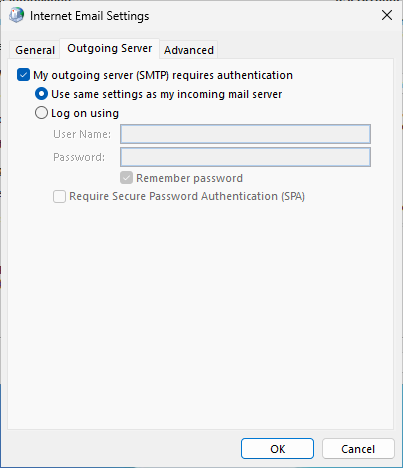
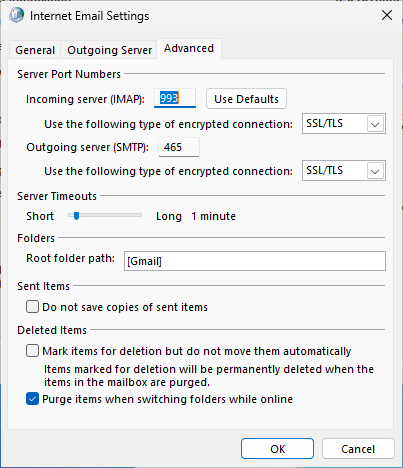
From the settings provided, you can now update the Incoming and Outgoing Email server names, the User Name (if this is changing), and enter the new Password. Click on More Settings... to check additional settings.
-
Click on OK.
- Click Next. Outlook will perform test logons for both incoming and outgoing mail.
- Once the tests are completed successfully, click Close, and then Finish to complete the account creation.
- Your email is now configured in Outlook. If you created a new profile, ensure it's selected as the default profile when you open Outlook.
